Content
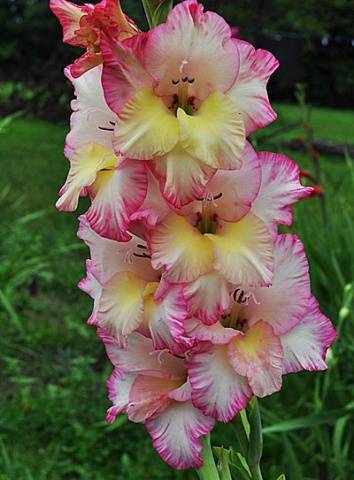
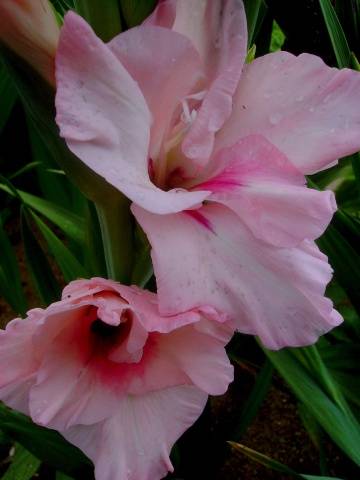
Perennial gladioli are, of course, more difficult to grow than any annuals. But the gardener's work will be justified - these flowers are truly magnificent! The garden, decorated with tall gladioli, looks well-groomed and stylish, and the flowers themselves attract attention with the size, color and beauty of the petals.
About how gladioli are grown in the open field, what is the care of these flowers, and what these ornamental plants are sick with - for novice gardeners, all the information is collected in this article.
How to grow gladioli from bulbs
For the appearance of beautiful and healthy gladioli from bulbs dug in the fall, you will have to work a little. After all bulbs need to be able to properly collect, process and save in winter, and in spring gladioli corms are divided for reproduction and renewal of flowers.
How to properly store and divide flower bulbs
Dig up the corms of gladioli in the middle of autumn, when there is still no severe frost, but the flowers have already faded and began to fade. After flowering, the stem must be pruned, leaving only a couple of leaves.
Carefully dug out bulbs must first be carefully examined to identify infestation of flowers with scab, rot, or fungal infections. Diseased bulbs will have to be thrown away, otherwise they can infect healthy flower tubers.

The rest of the flower onions are cleaned of clods of earth and washed with a solution of potassium permanganate or treated with antifungal drugs.
You need to store the tubers in sand, sawdust or in any other way, ensuring a constant temperature and humidity level. The main thing in this process is to prevent premature germination of the bulbs and their drying out, so the gladioli should have enough moisture, but it is not recommended to increase the temperature.
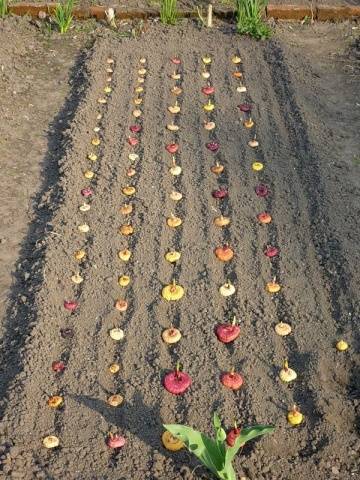
In spring, flower bulbs are taken out of basements, brought from balconies and placed in a warmer and brighter place. First of all, the tubers of gladioli are cleaned of scales and carefully examined. Healthy bulbs of adult gladioli should form growths - babies. Large children are separated from the tuber and planted on their own. This season, those that have emerged from the children will not bloom, even if the inflorescences appear, they must be broken off at the bud stage.
This tactic will help in the next season to get a full-fledged plant that will give large and beautiful flowers, no different from the parent bushes.
Like others perennial bulbous flowers, gladioli are also propagated by dividing the bulb.
Buds are found on the tuber and the bulb is divided so that at least one bud remains on each separate part.
After separation, the tubers and flower babies are treated with a disinfectant (potassium permanganate can be used) and dried thoroughly. The bulbs are now ready to be planted outdoors.
Planting and caring for gladioli outdoors
It is necessary to plant gladioli in the country in the lightest and most protected from the wind area. These powerful and tall flowers require a lot of sun, and their long stems can easily deform or break under constant exposure to strong winds.
It is not recommended to grow gladioli in the same place for several seasons in a row - scab and fungi that infect these flowers can remain in the ground for several years.
The depth of the planting groove depends on the size of the bulb. The tubers do not need to be buried too deep, this can cause later flowering. The ground should be well warmed up - it is optimal if the ground temperature is more than 8 degrees at a depth of 10 cm.
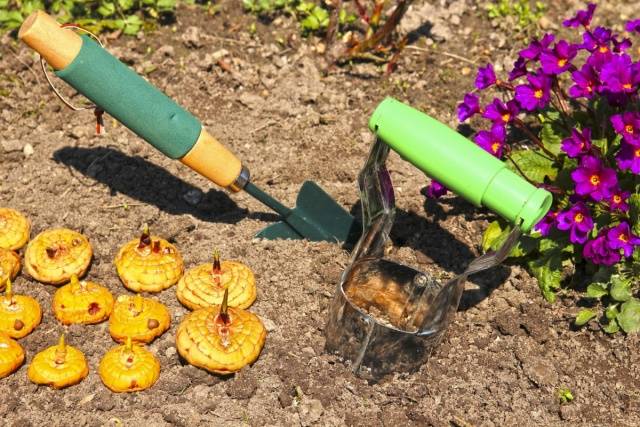
To protect the bulbs from scab, sawdust washed with a special solution is poured into the bottom of the groove. It is recommended to mulch the ground from above to prevent the appearance of weeds, slugs and prevent the earth from drying out.
In order for the bulbs to germinate as quickly as possible, they are covered with plastic wrap. You need to remove the shelter immediately after the appearance of greenery. They also protect gladioli from possible frost and heavy rain.
The planting of gladioli is over, now it remains to monitor the flowers, respond in a timely manner to their needs.
Feeding gladioli
Tall and powerful flowers need not only water and sun, for normal development, proper formation of flower ovaries, gladioli need to be fertilized regularly.
Fertilization of flowers begins from the moment the first pair of leaves appear on the stems, and continues until the last inflorescence:
- The first feeding of flowers is performed when the bulbs have just germinated and give two leaves. To do this, use nitrogen fertilizers that stimulate growth, which can be both mineral and organic. A weak solution of chicken manure, for example, works well.
- The same fertilizers or other growth stimulants are used at the stage of the third and fourth leaf formation.
- When there are 5-6 leaves on the bushes, you can feed the gladioli with a complex of fertilizers: nitrogen, potash and phosphorus. If the land on the site is rich in itself (black soil, for example), the nitrogen component can be excluded from the complex.
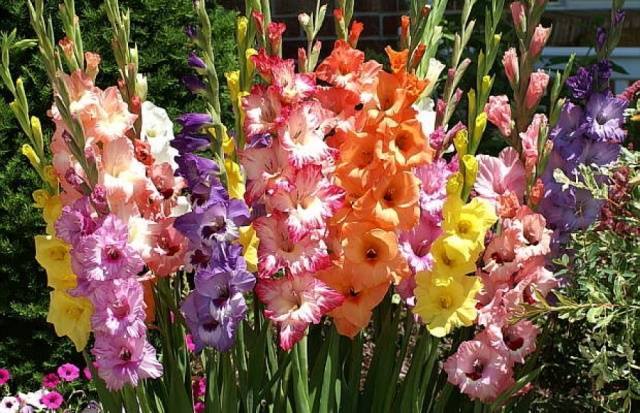
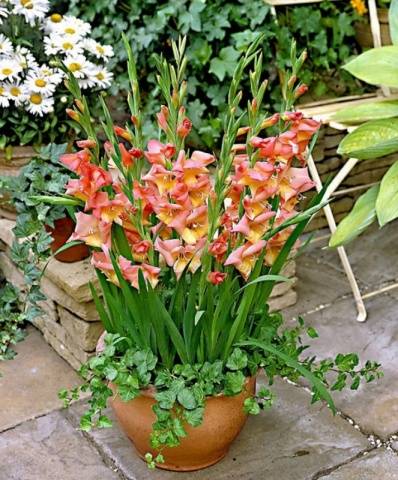
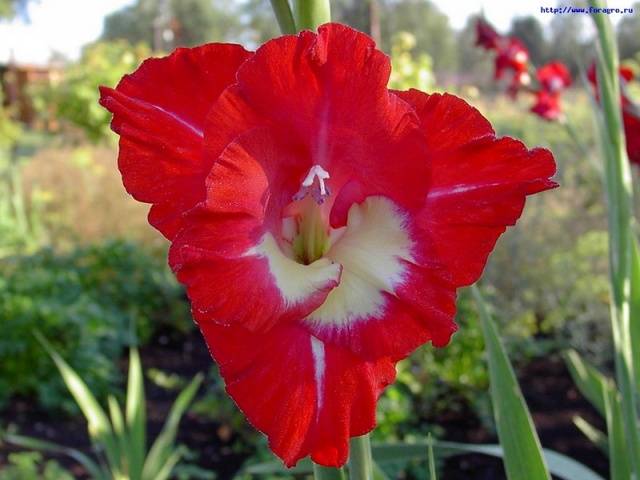
- When inflorescences begin to form, you need to repeat the fertilization with phosphorus and potassium. This stimulates the plants, they will be covered with large and bright flowers (as in this photo).

- In order to prolong flowering, wood ash can be added to the water for irrigation.
- In addition to other top dressing, experienced gardeners recommend using additional green fertilizer every three weeks.
Fertilizers need to be applied regularly, but it is better to do this in small doses, dissolving nutrients in water for irrigation. High-quality feeding will help gladioli get stronger and please the gardener with abundant flowering.
How to grow gladioli healthy and strong
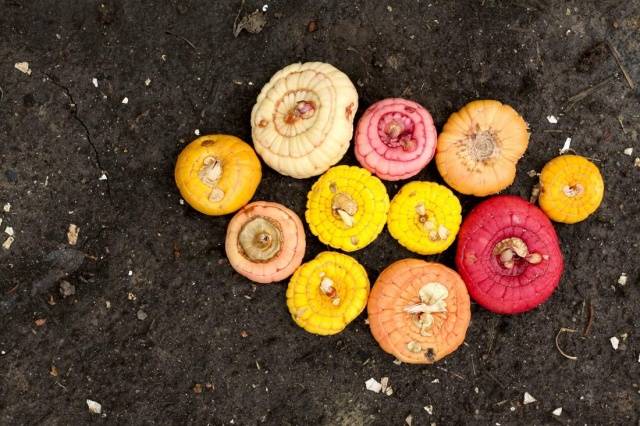
The trouble with bulbous flowers is susceptibility to diseases and frequent damage to tubers by pests. Every year, the bulbs can accumulate bacteria and viruses, which will eventually lead to the death of the flower (the affected bulb is shown in the photo).

To prevent diseases, it is necessary to regularly process the bushes of gladioli. For these purposes, use:
- in the spring, before planting the bulbs in the ground, cut the garlic into small pieces and dig up the beds. After 2-3 days, gladioli can be planted. This will help protect plants from fungal diseases and their pathogens stored in the soil.
- Planting bulbs in sawdust helps against scab.Wood sawdust is pre-soaked in a nitrophene solution (a tablespoon of the substance per 5 liters of water). The joint planting of gladioli and viola, which scares away the causative agents of this ailment, helps well against scab.
- Until the gladioli have bloomed, it is possible to carry out a complex treatment of the bushes with copper oxychloride and karbofos. Copper-soap preparation and foundationazole help well.
- After digging the bulbs in the fall, it is recommended to treat them with a 0.15% solution of potassium permanganate or 0.2% foundation.
- To protect the planting material from rodents during storage, malofos will help, which must be used in accordance with the instructions on the package of the drug.

Secrets of beautiful flowers
It is believed that gladiolus is a capricious flower, and not every gardener can grow it. Perhaps some collectible varieties are really difficult to grow on their own, without knowing the specifics and without having the skills. And here even a novice gardener can grow ordinary decorative flowers.
In order for gladioli to bloom magnificently and delight the owner and his guests, you need to adhere to simple rules:
- Plants should not be propagated by seeds. Although, according to agricultural technology, this is possible, there is a very high risk of "degeneration" of gladiolus, when the inflorescences become smaller, their shade changes, the growth of bushes becomes less. Correctly propagate bulbous flowers with tubers or children.
- When choosing a variety of flowers, it is imperative to take into account its flowering time. In nature, there are both super early flowers and very late ones. For the climate of most of Russia, you need to choose early gladioli, only they can take root in local conditions, completely bloom and give ripe bulbs for the next season.
- It is quite difficult to form flower beds with gladioli - these tall flowers are out of the general style. Experienced landscape designers recommend combining them with early tulips, daffodils and crocuses, as well as complementing them with late hydrangea - this will make it possible to get a flowerbed that continues to bloom from May to October.
- Gladioli of contrasting bright shades look beautiful next to them. Another advantageous technique is to plant flowers of the same pastel color together.
- Do not plant varieties with large inflorescences and small-flowering decorative gladioli together, large flowers will overshadow delicate small inflorescences.
- To make gladioli feel comfortable, leave 30-70 cm between them. In addition to the aesthetic component, when decorating a flower bed, you need to remember the need for airing and full lighting of the bushes.
- Gladioli need a lot of water, but at the same time, high humidity is dangerous for them. Plants need to be watered once a week, 10-15 liters of water should be used for each meter of land.
- To protect the stems and leaves of flowers from fungus and slugs, gladioli are watered not at the root, but in a special groove, which is located five centimeters from the stem.
- The soil between the holes is mulched with rotted sawdust, humus, sand, straw or grass. This will protect against drying out, overheating of the bulbs, prevent the germination of weeds and the appearance of slugs on them.
- After each watering, it is necessary to carefully loosen the soil between the rows - the roots of gladiolus need air.
- When the buds appear, it's time to tie tall flowers to strong supports. Large inflorescences of gladioli become very heavy after rain, for example, strong winds are also dangerous for them. It is better not to risk the bush and tie it up in advance.
- Flowers are cut in the morning, while there is no heat. This should be done with a sharp knife, although some gardeners argue that the most painless way for plants is to break out the stem at the base of the leaves. So the "wound" of the gladiolus will be minimal and heal faster.
- Dig the bulbs in dry weather at above-zero temperatures. Usually in Russia this is done in mid or late September.
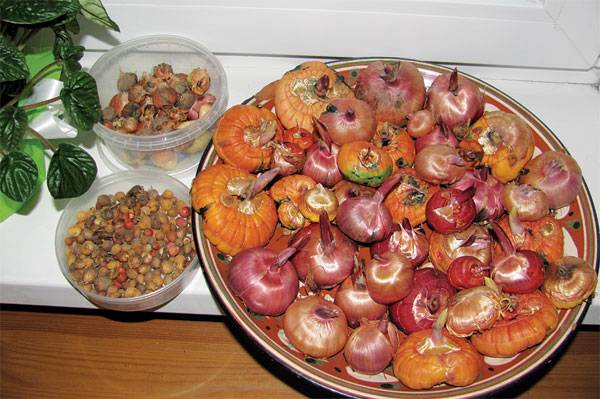
- Immediately after digging, the tubers are sorted and signed so as not to confuse the variety and shade of flowers and beautifully arrange the beds of gladioli next season.
- Store gladiolus bulbs in basements with ventilation and a constant temperature or in other cool and dark places. In the apartment, you can store gladiolus tubers on the bottom shelf of the refrigerator, they are pre-folded in paper bags.
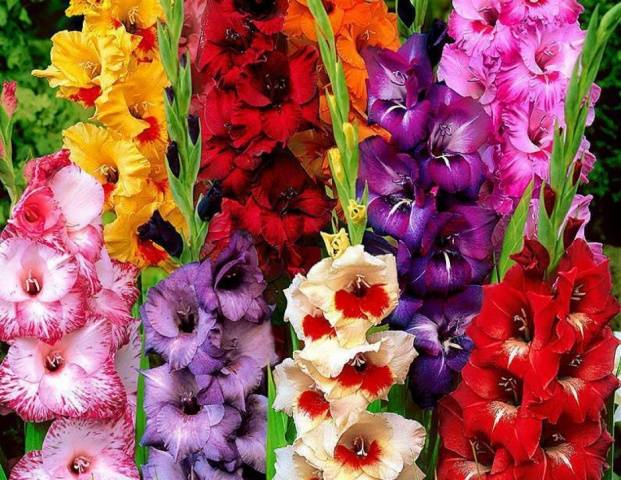
A flower bed of self-grown gladioli will certainly become the center of attention - it is simply impossible not to notice and appreciate these beautiful and majestic flowers, as evidenced by their photos.

Growing and caring for gladioli seems difficult only at first glance. If you follow the guidelines and follow the rules above, the flowers will grow strong and beautiful.


