Content
Growing bells from seeds at home helps gardeners to create the most daring compositions out of them. They are considered very delicate and decorative flowers that you want to see on the site in large quantities. Over 300 species - not every culture can boast of such a variety. The Latin name for the bell is Campanula. Among the popular names, bells, chebots and chenille should be noted.
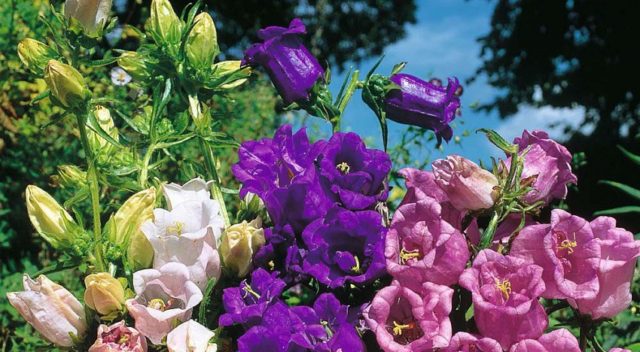
To create a beautiful composition, you can get by with just a few varieties of culture.
Features of growing a bell from seeds
The bulk of the varieties are perennials. However, there are also one- and two-year-old bells. Sexual reproduction is considered not only the most effective method, but also universal. Growing from seeds of a perennial bell is used as often as a biennial one. For annuals, this is generally the only reliable breeding method. This option is not recommended for some terry varieties in which the seedlings lose the characteristics of the parent plants or the seeds have very poor germination.
If there are already bells on the site, then the seeds are easy to collect on your own. To grow new species, planting material must be purchased.
When collecting seeds, do not wait for the capsules to open. It is better to cut off the selected inflorescences when they turn brown. Then put them on ripening.
If you skip the collection date, then the seeds simply fall out of the boxes on the ground.
When and how to plant bell seeds in the ground
Sowing directly on the beds is recommended in spring (May) or autumn (October). Pre-winter sowing for bells is not at all dangerous. In the cold season, the seeds will undergo natural stratification, and in the spring they will sprout together. If you decide to sow the bell in the spring, then you need to put the seeds in the refrigerator for 8 weeks. Thus, preliminary preparation of the planting material is carried out. This technique is required for perennial and biennial varieties, annuals reproduce well by self-sowing. Their seeds germinate well without stratification. The seeding algorithm is very simple. You need to choose a place with loose, lightweight and moisture-permeable soil. Clean from debris and weeds, loosen and be sure to moisten.
Bellflower seeds are very small, so they should not be buried. It is enough to scatter over the soil surface and press down a little. Then moisturize again. When the seedlings grow up, you can transplant them into flower beds. The bellflower will begin blooming next season.
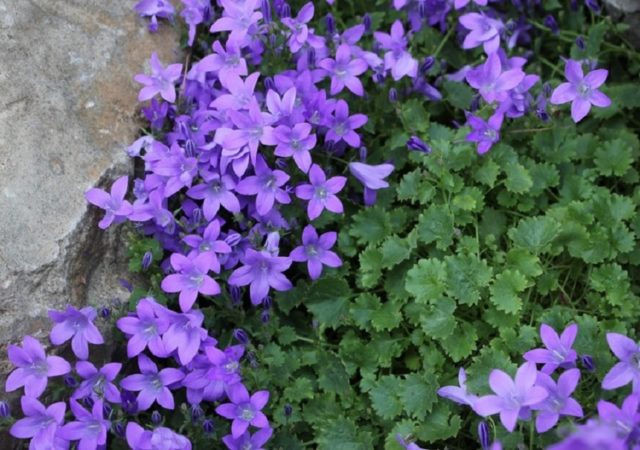
You can plant low-growing plants at a short distance to get a multi-colored rug
Planting bell seeds for seedlings
This option will allow you to get flowering plants in the year of sowing. In order for the seedlings to grow healthy, you must adhere to the recommendations for growing bell seedlings.
You will need:
- observe the sowing time;
- competently prepare the soil mixture;
- choose containers for seedlings;
- sowing;
- provide seedlings with good care.
The list of items is performed in a specific order. Preparation is needed only for the seeds of perennial bells.They should not be soaked, because then small wet seeds are very difficult to use. It is enough to stratify and then plant bells on seedlings.
When to plant bell seeds for seedlings
Saplings of the culture grow rather slowly. The optimal sowing time is March or early April. If the bell is grown in the southern region, then you can shift the date to the beginning of March. For the Central strip and the Moscow region, you should adhere to mid-March, in the northern regions, postpone sowing at the beginning of April. The recommendations of the lunar calendar will help you choose the exact date. It is necessary to compare his wishes with the weather forecast for the current year. Then determine when to sow perennial bells for seedlings in a particular region.
Selection of containers and soil preparation
Here, the gardener does not need complex techniques or special skills. Almost all bellflower varieties prefer well-drained, slightly alkaline or neutral soil. A universal primer, which can be purchased at garden stores, is well suited to these requirements. It contains all the necessary nutrients for seedlings, has the desired structure.
The proportions of soil and baking powder are 3: 1. If you have to prepare the soil mixture yourself, then you need to mix sod soil, humus and coarse sand (6: 3: 1).
The container must be of a certain volume. It is best to sow bell seeds in containers no more than 7 cm high. The main thing is that they are wide. Tall containers are not suitable, and it is also inconvenient to use separate cups or pots. This is because the bellflower seeds are very small. Any container must have drainage holes. If they are missing, they should be done with scissors, a soldering iron or a nail.
Only strict adherence to the sowing rules guarantees the opportunity to create a beautiful flower bed in the garden.
How to sow a bell for seedlings
This procedure consists of several stages, which are not difficult for an experienced gardener. However, beginners should carefully study the intricacies of planting bell seedlings. If it is wrong to place small crop seeds in the ground, then the seedlings can not wait. Therefore, it is necessary to clearly follow a series of sequential actions:
- Place the drainage layer in the container.
- Fill the container with soil mixture.
- Moisten the surface with a spray bottle.
- Spread the seeds over the surface of the soil. For easier sowing, you can mix them with sand.
- Press lightly with the palm of your hand without dusting it with earth.
- Moisten the top a little again, very gently. Otherwise, the seeds can be washed off with water.
- Cover the container with foil or glass.
- Place in a warm place with a temperature of + 20 C.
- Wait for the sprouts.
Seedling care
To grow a bell with seeds, you need to provide the seedlings with not only high-quality planting, but also care. He must be regular and competent.
Microclimate
Immediately after sowing, maintain the temperature within + 20-22 ºC. Seedlings will appear on the surface in 15-20 days. Now you need to remove the film and lower the air temperature to + 18-20 ºC. This is the optimal indicator for the entire period of seedling growth.
Watering and feeding schedule
Until the seeds germinate, they can only be watered with a spray bottle. After sprouting, root watering is required. It is important to keep the soil surface slightly damp. Drying out or waterlogging is unacceptable. In the first case, the small roots of the seedling suffer. In the second, the seedlings can be exposed to fungal infections and get sick with a black leg.
The first feeding is allowed 2 weeks after the pick. For this, it is recommended to use complex mineral compositions for flowering plants. The solution must be made 2 times weaker than the usual concentration. Repeat feeding after 10 days.
Leaves of healthy seedlings have good turgor and uniform color.
Picking
The picking time will come when 2 true leaves are formed on the seedlings. Seedlings should already be transplanted into individual containers. The container volume must be at least 250 ml. It is allowed to use the same soil that was prepared for sowing seeds. Algorithm for the correct picking of seedlings of bells from seeds:
- Water the seedlings first. Optimally 1-2 hours before the pick. This will facilitate the process of removing plants from the soil.
- During this time, fill a new container with soil, make holes.
- Carefully remove the seedling from the container. The bell has long roots. Care must be taken not to damage them. Experienced gardeners recommend using the back of a spoon to divide the soil into segments. Then the plants are much easier to get.
- Transplant no more than 4-5 seedlings into one glass or cassette.
- Bury the plants a little, compact the ground around.
- Water the bells in a new place.
Shade the seedlings for the first 2-3 days.
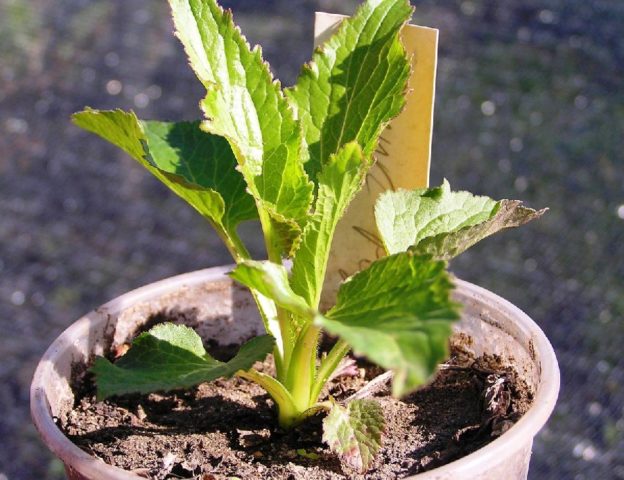
In addition, the seedlings must be provided with good lighting so that they fully develop and do not stretch out.

Seedlings at this age must be transplanted into separate containers.
Transfer to the ground
Disembarkation on the bed is carried out at the end of May (southern regions) or in June (northern). Most varieties of bells are very fond of good lighting. Shade-loving ones have dark green leaves. Therefore, the place for the bells should be allocated sunny and without drafts. They like the soil drained, loose, neutral or slightly alkaline. Grow best on loam. The earth will first have to be dug up. Fill the heavy one with humus and sand, the poor one with sod land and organic matter. It is advisable not to place the bed with bells next to trees or tall bushes.
These substances increase the risk of developing fungal diseases.
Plants should be planted according to a certain pattern. Place low-growing varieties of bells at a distance of 10-15 cm from each other, leave a distance of 20-30 cm for medium-sized varieties, plant tall varieties after 40-50 cm.
Compact the soil, water the plants. It is useful to mulch the plantings to reduce the rate of weed growth and conserve moisture.
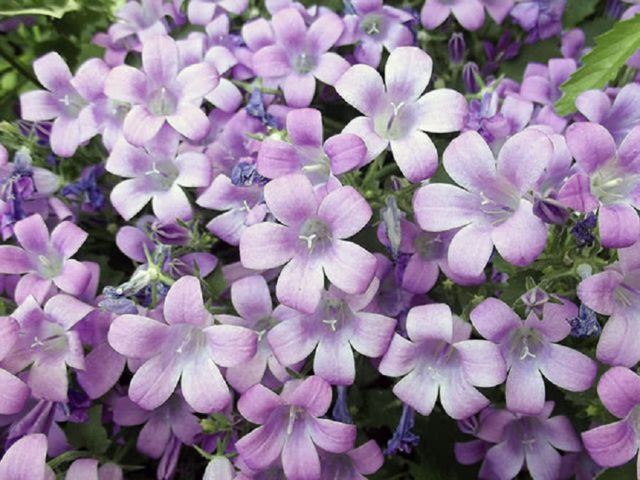
If you plant bells grown from seeds, they will bloom in the year of planting.

Even single plants create a unique decor of the site.
Conclusion
Growing bells from seeds at home greatly simplifies the process of decorating the site. A huge number of varieties with various shapes and colors can be bred independently. It is only important to adhere to agrotechnical recommendations and listen to the advice of experienced gardeners.


