Content
Daylilies are unpretentious plants that can be grown in one place for many years. These Asian flowers grow in almost any region and adapt perfectly to climatic conditions. It is best to plant a daylily in the spring and then provide proper care.
Daylilies are great neighbors, so you can plant any garden plants next to them.
Features of planting daylilies in spring
Daylilies are representatives of the Liliaceae family, they are also called hemerocallis. Among the people, it is a beautiful day, since the flowering is very short-term, the flowers flaunt on the stems for only one day.
As when planting any perennials in the ground, including daylilies, in the spring you need to take into account some features:
- Early dates are necessary for the culture to take root and meet winter in full readiness. The fact is that the plant takes root for at least a month.
- In areas where winter is especially harsh, you need to select varieties that bloom early.
- Purchased seedlings are stored on the top shelf of the refrigerator until spring, wrapped in newspaper. Plant in early April (in late spring regions - at the end of the month).
- If there is a threat of frost, daylilies planted in spring should be closed for the night, otherwise the flowering will not be abundant, and the buds themselves will be small and inconspicuous.
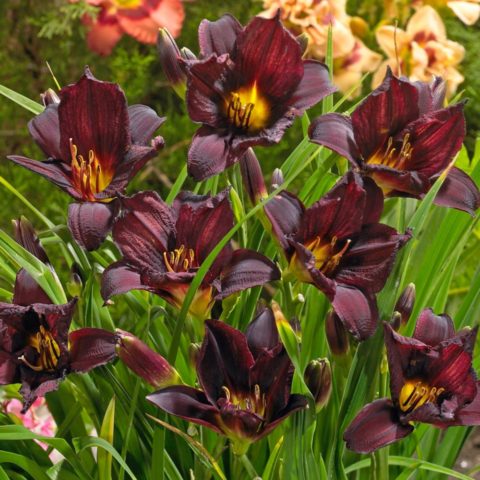
It is better for novice gardeners to choose daylilies with yellow or red buds, as they are especially unpretentious.
In the spring, you need to find a place for planting perennials with bright buds. Although they can grow in all conditions, it is best to choose well-lit areas so that there is no shade during the day. The planting site should be elevated so that in spring the water does not stagnate and does not damage the root system.
When to plant daylilies in spring
Not a single even the most experienced grower will give the exact timing of planting perennials. They will depend on the growing region. The planting of daylilies is usually planned at the beginning of spring. The main condition is thawed soil, no frost. In the south, daylilies can be planted in mid-April, in central Russia - towards the end of the month. In Siberia and the Urals - not earlier than April 15.
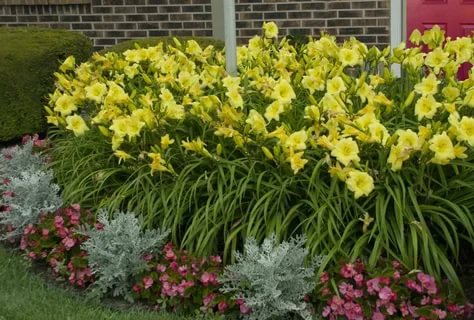
Plants planted in spring will delight with beautiful buds in summer
How to prepare the soil for daylilies
As already noted, daylilies are unpretentious garden plants. They can be grown in any soil, as they are unassuming. Some growers fill the holes with a ready-made composition available in stores. Nutrients are balanced in these soils.
Soil preparation rules:
- Flowers grow well after planting on ordinary garden soil. Insufficiently nutritious soils are diluted with organic fertilizers.
- It is recommended to add river sand to heavy clay soil, then moisture will not stagnate, it will quickly penetrate to a depth.
- Suitable for planting daylilies and soil, which contains a lot of sand.The only drawback is frequent watering, as moisture evaporates very quickly.
In the spring, before planting daylilies, the area where the flowers are supposed to be placed is well dug onto a shovel bayonet. Be sure to choose the rhizomes of weeds in order to rid the plants of harmful neighbors.
How to prepare a hole for planting daylilies
Since daylilies in one place without transplanting are grown for several years, in the spring you need to take care of the high-quality preparation of the site.
The pit should be spacious enough, since the perennial root system grows over time.
When preparing a seat, the following points should be taken into account:
- A hole is dug to a depth of at least 30 cm, in diameter it should be within 45-50 cm.
- Since daylilies do not tolerate stagnant moisture, the bottom of the planting pit must be filled with drainage. It can be coarse river sand, pebbles, broken brick.
- Regardless of the quality of the soil, for the full development of daylilies when planting in spring, peat or humus, wood ash or fertilizers containing phosphorus and potassium must be added to each hole.
- Plain earth is poured on top of the dressings so that the roots do not come into contact with them, in order to avoid burns.
How deep to plant daylilies in spring
When planting daylilies in the spring, place the plants at the correct depth. This applies to the root collar. It should be at a distance of 2-3 cm from the soil, which will allow the seedlings to quickly take over and begin to develop.
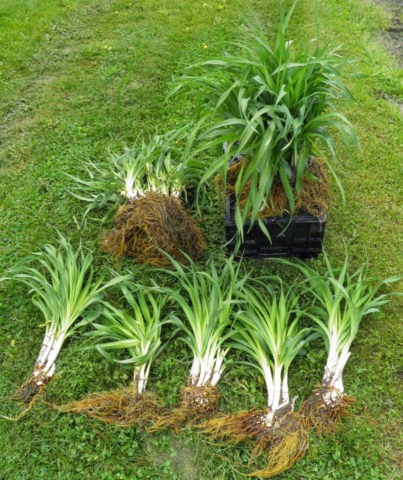
In spring, healthy daylily seedlings are chosen for planting.
How to plant a daylily in spring
Daylilies are planted in spring with sprouts so that the plants will successfully take root and please with beautiful buds. Follow the algorithm:
- In a pit prepared in advance, a mound is made of nutrient soil.
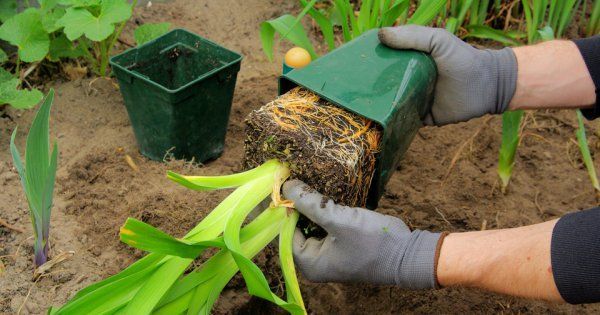
- 5-6 hours before planting, the daylily seedling is placed in a bucket of water or liquid mineral fertilizers. This procedure will saturate the root system with moisture. If the planting material was not grown in containers, then the roots will be exposed. After a thorough examination, dry or damaged parts are removed, then the leaves are shortened by 20-30 cm.
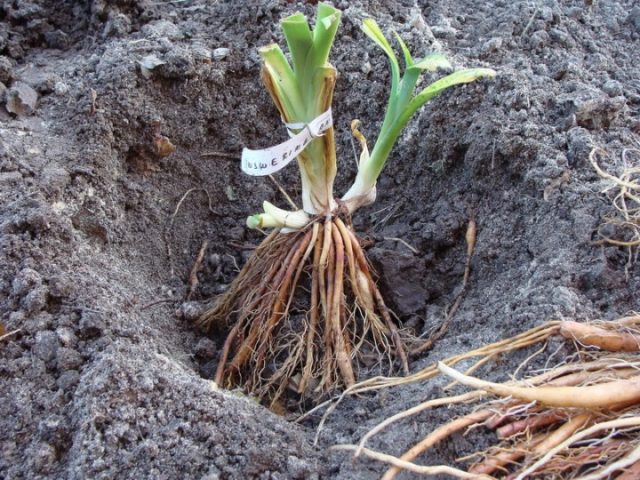
- The seedling is placed on a mound, tilted by 30 degrees, the roots are straightened, placing them down. Then sprinkle with nutritious soil, but not to the top of the pit.

In order not to forget after planting in the spring, where is the variety of daylilies, tags are tied to the plants
- If the daylily is grown in a container, then it is carefully removed from it and placed in the center of the pit. Sprinkle with earth to the level at which the seedling grew in the container.

If two seedlings grow in one container, they must be carefully separated before planting.
- After the soil is lightly tamped and well filled with water. This will help squeeze air out from under the roots.
- After the water is absorbed, top up the soil, leaving the root collar above the surface.
- Water gently again.

Cover the root zone with mulch from peat, straw or humus
At what temperature to plant daylily in spring
Florists recommend planning the planting of daylily rhizomes in early spring. But there are some complications here too. It is necessary to check the condition of the soil. It should be warm, that is, at least + 6-7 degrees.
Distance between daylily seedlings
Most often, several daylily bushes are planted on the garden plot at once. Therefore, the holes are dug with a step of about 50 cm. This is important, otherwise the plants after 2-3 years will begin to oppress each other, which will negatively affect not only the appearance of the bush. It's just that the flowering will not be as abundant as gardeners expect.
How to care for daylilies in spring
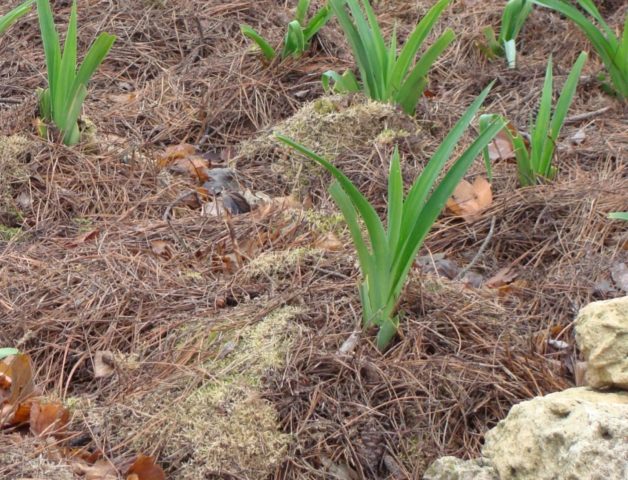
If daylilies are already growing on the site, then in the spring they require special care. Green leaf peaks emerge from the ground as the snow begins to melt. The bushes should be freed from the old layer of mulch. If the daylily was covered for the winter, then the material or spruce branches must also be removed.
Then loosen the root zone to a shallow depth so as not to damage the roots. If there is stagnation of melt water, then you need to take it away from the bush so that the tubers do not start to rot.
Daylily transplant
In the spring, they are transplanting bushes to a new place, if the daylily is more than five years old. Such plants are considered old and require renewal, since a minimum number of buds are formed on them or they do not bloom at all.
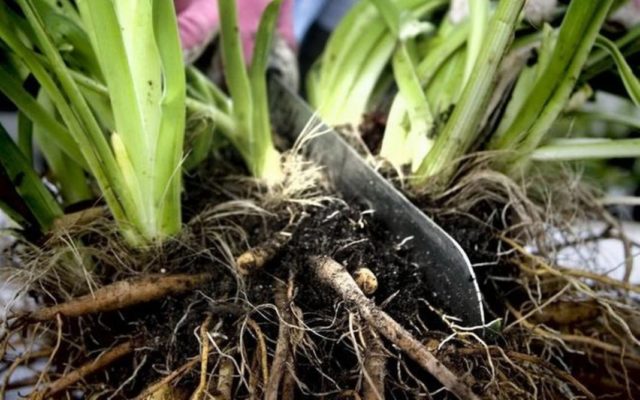
The transplant is performed before the start of budding, using the method of dividing the bush:
- Daylily is watered abundantly with water.

- When it is absorbed, the mother plant is dug in from all sides, taking care not to damage the root system.
- Cut the leaves at an angle before planting.
- Transfer to burlap and cut into small pieces.

- Large bushes will have to be cut with a pitchfork, as the roots are strongly intertwined.
- Transferred to pre-prepared pits, planting is performed as usual.
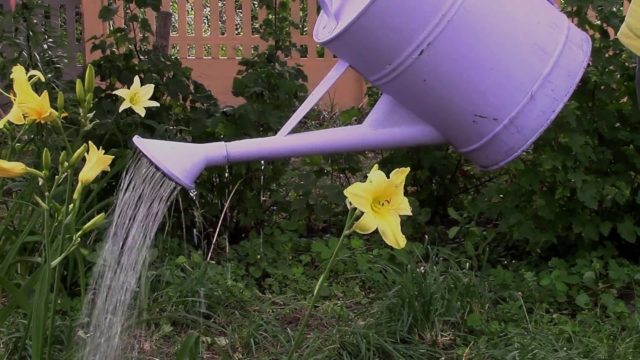
Watering
With regard to irrigation, in the spring it is necessary only if the winter was little snow, and rain is not expected. Watering is performed in the morning or evening.
Top dressing
You should not rely on the unpretentiousness of daylilies after planting in the spring on the site. They, like any garden plants, need timely feeding, which is performed according to a certain scheme:
- For the first time in early spring, when leaf peaks appear, daylilies need to be fed with mineral fertilizers. They are scattered dry directly over the snow in the root zone. The main thing is not to get on the foliage.
- The second time they feed the bushes, too, in spring, in May, so that the plants grow together in green mass.
- The third time they feed daylilies in early summer, when the buds form.
- The last feeding is planned for August. For fertilization, superphosphate and wood ash are used. Such an event is important for the abundant flowering next summer.
Conclusion
Planting a daylily in spring is easy, you just need to choose the right variety. For Siberia, the Urals, Transbaikalia, plants with early flowering periods are suitable. In the same regions, the root zone will have to be well covered. Even a novice florist can take care of the culture if he has a desire to have beautifully flowering perennials on the site.


