Content
The cultivation of the Carpathian bell from seeds is most often done by the seedling method. To successfully emerge, the seed of this flowering ornamental perennial needs an abundance of diffused light, a consistently warm air temperature, light nutritious soil and moderate watering. At the initial stage, the seedlings of the Carpathian bell develops rather slowly and needs proper care. However, after transplanting grown seedlings into open ground, they grow rapidly and, under favorable conditions, can begin to bloom already in the current season. Adult Carpathian bells are unpretentious, resistant to frost and drought, and perfectly adapt to almost any climate. Regular watering, loosening the soil and nutritious feeding will help ensure long-term and abundant flowering of these bright beauties that will easily fit into any landscape composition.
The nuances of growing seedlings of the Carpathian bell
What the seeds of a Carpathian bell look like will help to present a photo:
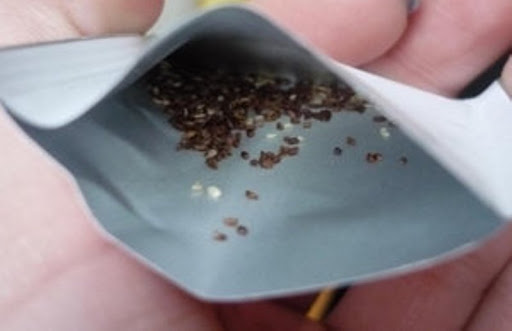
The seeds of the Carpathian bell are very small, so it is convenient to sow by mixing them with dry clean sand
For those who plan to start growing seedlings of this flower, knowledge of some of the nuances will probably come in handy:
- The seeds of the Carpathian bell are very small: the mass of 1000 pieces, depending on the variety, is usually 0.25-1 g. In order to thin the seedlings a little and achieve uniform germination, it is recommended to mix them with dry clean sand, pre-calcined and sifted through a sieve.
- You should buy seed only from trusted manufacturers. This will help to avoid overgrading and get strong viable shoots.
- The seeds of the Carpathian bell are best germinated fresh, as they quickly lose their germination.
- First, the seed must be stratified. Seeds should be wrapped in a piece of damp cloth, placed in a plastic bag, tied tightly and placed in the vegetable compartment of the refrigerator. The term for stratification is from two weeks to 1 month.
- Immediately before planting, the seeds can be soaked in a growth stimulant solution or simply in warm water for 4 hours. After that, the liquid should be filtered through a thick cloth and allowed to air dry a little.
When to plant a Carpathian bell for seedlings
The timing of planting seeds of the Carpathian bell for seedlings should be determined based on the climatic characteristics of the region:
- in the southern regions, sowing can begin at the end of February or at the beginning of March;
- in central Russia, including the Moscow region, the optimal time will be mid-March;
- in the northern regions (Siberia, the Urals, the Leningrad region), it is best to wait until the beginning of April.
How to sow a Carpathian bell for seedlings
Sowing a Carpathian bell for seedlings should be done according to the rules. First, you need to prepare suitable containers and soil. Then sowing should be done, taking into account some of the features of this procedure.
Selection and preparation of containers
The best container for growing a Carpathian bell from seeds is a wide and flat container no deeper than 7 cm.

It is best to plant seeds in a wide, shallow container filled with light, loose, neutral soil
The container can be either plastic or wooden. The main condition is the presence of holes in the bottom to drain excess moisture. If there are none, they should be drilled out or done independently with scissors or a nail.
Before use, it is advisable to disinfect the container by treating it with a pink solution of potassium permanganate.
Soil preparation
The substrate for germinating seeds of the Carpathian bell should be:
- easy;
- loose;
- moderately nutritious;
- with a neutral or slightly alkaline reaction.
A suitable potting mix is:
- garden soil (sod) - 6 parts;
- humus - 3 parts;
- fine sand - 1 part.
You can buy a ready-made universal substrate for seedlings of flower plants. In this case, it will need to be diluted with sand, perlite or vermiculite by mixing 1 part of baking powder with 3 parts of soil.
Sowing Carpathian bell for seedlings
Sowing seeds of the Carpathian bellflower into the soil is not difficult.
They do it like this:
- A layer of drainage (expanded clay, perlite, fine gravel) of about 1.5 cm should be poured into the container.
- Fill the container with the prepared substrate, without adding 2-3 cm to its edges.
- Moisten the soil with water from a spray bottle.
- Spread the seed mixture with fine sand evenly over the surface of the soil. In no case should they be buried.
- Water the crops with a spray bottle.
- Cover the container on top with glass, a transparent lid or foil, creating a "greenhouse effect".
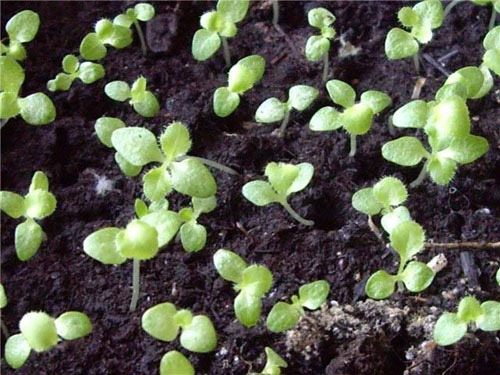
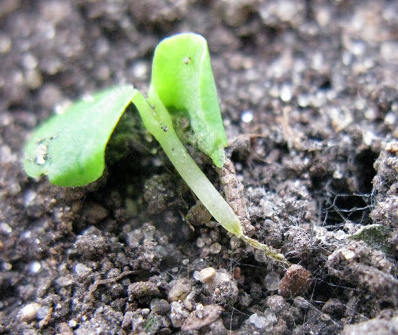
At the initial stage, seedlings develop slowly and need warmth, plenty of light and regular moderate watering.
Carpathian bell seedlings care
Properly organized care of the Carpathian bell after planting plays an important role. While maintaining favorable conditions, seedlings will begin to appear in 10-25 days.
Microclimate
The prerequisites for the germination of the seeds of the Carpathian bell are a warm place and an abundance of light.
From the moment of planting to the emergence of seedlings, the temperature in the room with the plants should be maintained at + 20-22 ° C. Then you can slightly lower it (up to + 18-20 ° С).
Before the seeds sprout, a covered container with them must be kept on the sunniest windowsill of the apartment. After the appearance of the first shoots, it is advisable to organize supplementary lighting of the Carpathian bell with a phytolamp, providing it with 12-14 hours of daylight hours.
During the first 2 weeks after planting, it is imperative to ventilate the plants by removing the shelter for a few minutes in the morning and evening. The residence time of seedlings without a "greenhouse" after their germination begins to double daily. Then the film is removed completely.
Watering and feeding schedule
When growing a Carpathian bell from seeds at home, watering the soil at first is done from a spray bottle or a teaspoon. The approximate frequency of moistening the substrate is every 3-4 days, as it dries. When the sprouts hatch, the seedlings are carefully watered under the root, avoiding water getting on the leaves.
2-3 weeks after the plants are distributed in individual containers, you can water them with a complex mineral composition or fertilizer for seedlings based on humus.
Picking
A pick of seedlings of the Carpathian bell is made when they have 2-3 true leaves. The composition of the soil is the same as that used for germinating the seeds. The containers can be chosen as individual (cups with a volume of 200 ml or more) and general - with the expectation that the distance between the seedlings is at least 10 cm.
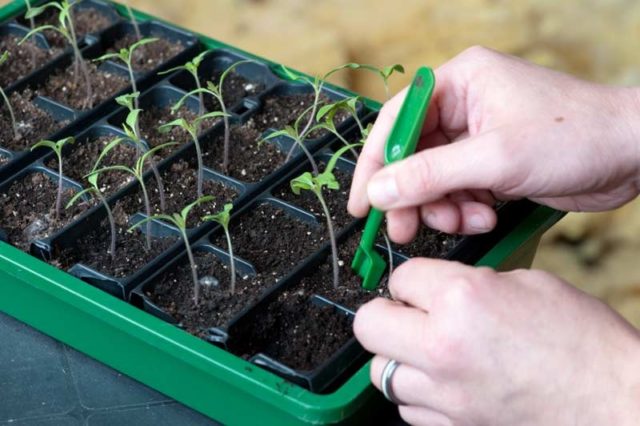
Seedlings of the Carpathian bell dive at the stage when they have 2-3 true leaves
The pick is performed as follows:
- 1-2 hours before the procedure, the seedlings are watered abundantly;
- prepared containers are filled with a substrate and small holes are dug in it;
- carefully remove several seedlings from the soil together with a lump of earth so as not to damage the roots (it is convenient to do this with a tablespoon or fork, unfolding it with the back side);
- carefully separate the lumps of the substrate and plant 3-4 plants in each container for picking;
- slightly compact the soil at the roots and water the seedlings.
Dive Carpathian bells can be placed in a greenhouse or greenhouse. 1-2 weeks before planting in the ground, it is advised to harden the seedlings. To do this, the plants are left outdoors for an initial 2 hours and, within 7 days, the time of their stay in the open air is brought up to the whole night.
Transfer to the ground
Depending on the climate in the region, the Carpathian bell is transplanted to a permanent place in May or early June. In the selected area, holes are dug at a distance of 30 cm from each other. A seedling is carefully transferred into each hole along with a lump of earth, buried along the root collar and watered with warm water.
Diseases and pests
The Carpathian bell is rarely subject to disease. Among the ailments and pests that can damage his health, the following can be distinguished:
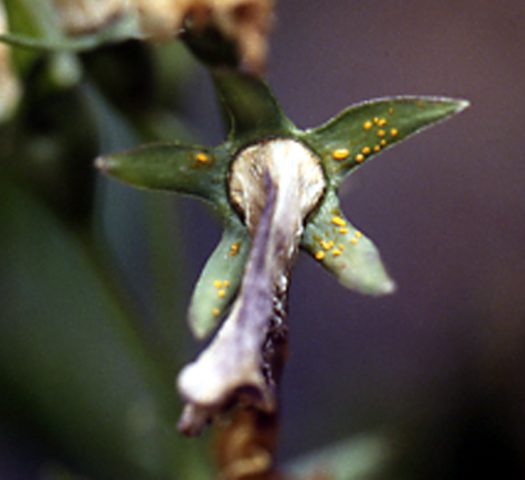
- Rust. The disease manifests itself in the form of cushions-"pustules" of red color, containing spores of the fungus, on the above-ground organs of the plant. Affected leaves, stems, calyxes of flowers quickly lose moisture, dry out and die off. For treatment, fungicidal preparations are used (Abiga-Peak, Topaz, Fitosporin-M).

Sometimes rust can be observed on the leaves, stems and calyces of the flowers of the Carpathian bell.
- Fusarium wilting. Often it affects seedlings after a dive or planting in open ground, when the root system is severely damaged. The causative agent of the disease is a fungus. It penetrates the roots, which quickly become brittle, and spreads through the vessels of the plant. As a result, the stem at the root collar rots, the leaves begin to fade, quickly wither and dry. Affected plants should be dug up and destroyed immediately. The rest of the plantings need to be watered with a fungicide solution (Oxyhom, Fitosporin-M).

At the stage of picking or transplanting into the ground, seedlings often suffer from fusarium
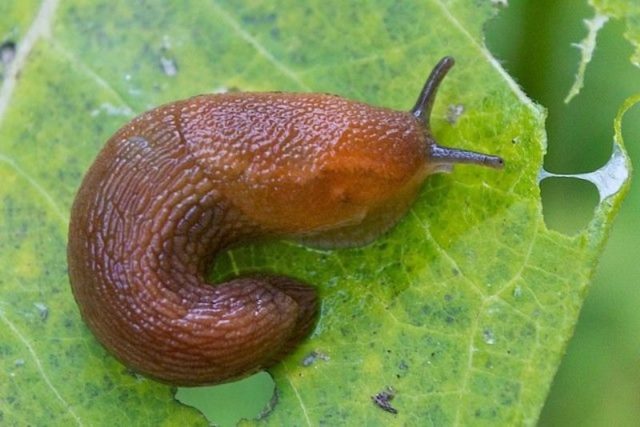
- Slugs. These pests attack the Carpathian bell mainly in wet, rainy weather, eating young leaves. To combat them, folk remedies (mustard powder, hot pepper) and chemicals (Meta, Thunder) are used. Hand picking of pests is also effective.

In wet weather, young leaves of the Carpathian bell can eat slugs
Conclusion
Growing a Carpathian bell from seeds is not particularly difficult. It must be borne in mind that the seedlings will successfully sprout if the seed is fresh and of high quality, and the soil is light and loose. The place for the container with the seedlings should be warm and light; at first, organize a "greenhouse" for the sprouts and regular neat watering. The attention and care provided to the Carpathian bell at the initial stage of life will ultimately allow you to get beautiful, healthy and unpretentious plants for your garden, which will delight you with abundant and bright flowering for more than one year.


