Content
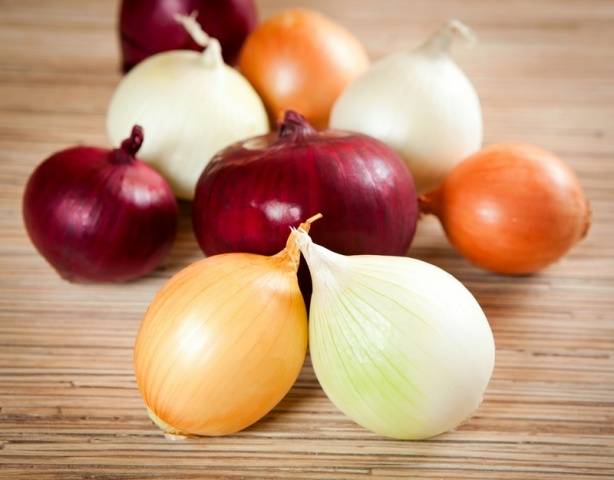
As you know, onions contain a lot of vitamins and phytoncides useful for the immune system, it is a natural spice and is able to enhance the taste and aroma of many products. Today it is difficult to imagine an ordinary cuisine without onions, they are added to almost all dishes. It is not surprising that all summer residents strive to get a harvest of this vegetable from their own beds, especially since this culture is unpretentious and does not require complex care.
Still, there are a few tricks that can help you to increase onion yields and improve the quality of the heads. How to properly plant a turnip onion, and how to prepare an onion harvested last season for planting - this is the article about this.
When is the best time to plant onions
Today there are a lot of varieties of onion crops: these are shallots, leeks, batun, Yalta, schnitt, Mongolian and Indian decorative. But Onion is considered the most famous and widespread in Russia; it is this crop that is grown on their plots by domestic summer residents and gardeners. And the rules for planting onion varieties will be discussed below.
Many videos from experienced farmers indicate that onions need to be planted in the fall. This statement is, in principle, true, but only for those who want to get a harvest of the greens of this vegetable - a feather.
The fact is that over the winter, a bulb planted in the ground loses all its strength, therefore it cannot grow into a larger young turnip. The strength of such a head is enough only for the production of early greenery, and summer residents cut it off in the middle of spring.
As a rule, the smallest onions are planted before winter, which are not able to last until the next season. These are heads up to 1 cm in diameter. In the southern regions, gardeners are still sowing nigella - onion seeds. The next year, small turnips grow out of it, which can be used again for planting and harvest large heads suitable for human consumption.
Self-germination of onion seeds is too painstaking process. It is much easier and more cost-effective to buy ready-made planting material.
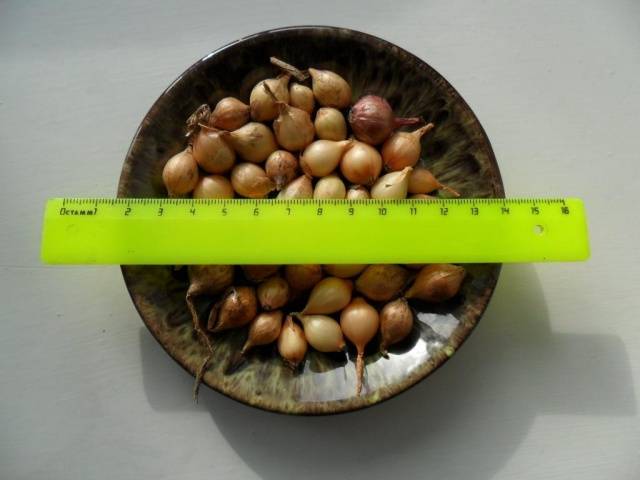
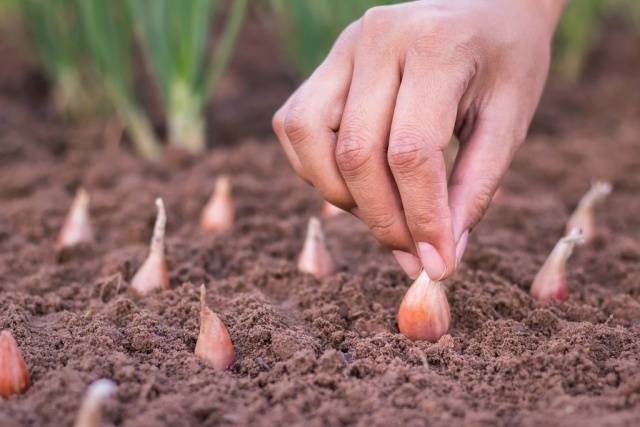
Most often, onions are planted in the ground in the form of small heads, with a diameter of 1 to 2 cm.This is done in the spring, when the soil warms up to at least 12-15 degrees at a depth of 6-7 cm.
How you can prepare onions for planting in spring can be found in the following sections.
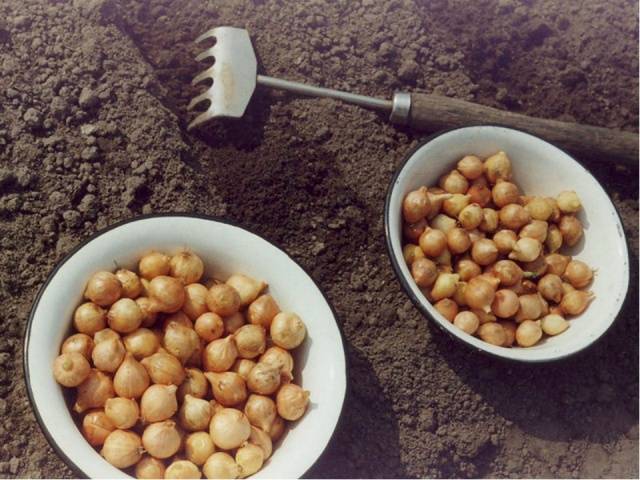
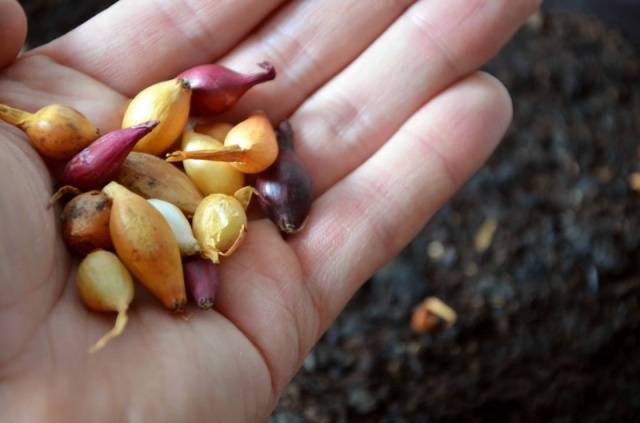
Sorting the bulbs for planting
First of all, onions bought or grown independently in the spring need to be inspected and sorted. At this stage, remove all dry, empty and rotten onions, leaving only healthy and strong material.
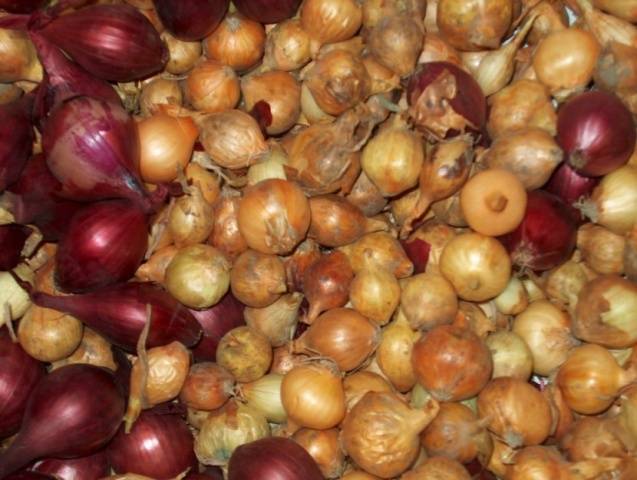
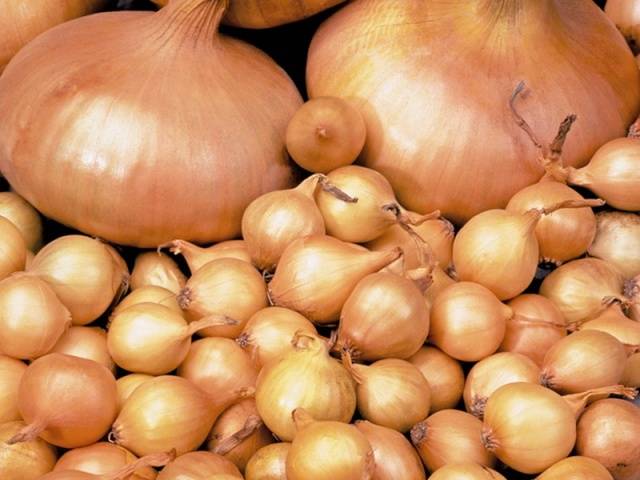
Now turnips need to be sorted by size (if their diameter is very different):
- Smallest onions up to 1 cm in diameter must be planted in the ground later than others - they germinate the longest. From such onions, not only good greens can grow, it is quite possible to grow medium-sized turnips suitable for human consumption. To do this, the onions are planted in well-heated soil, not earlier than mid-May, and a sufficient distance is left between them - 7-10 cm.
- Medium heads are the best planting material for growing onions on a turnip. Their sizes range from 1 to 2 cm. Such onions can be stimulated: cut off the dry top with sharp scissors and peel too abundant husks. So the onion will sprout a green sprout faster and give a good harvest.
- Large bulbs with a diameter of more than 2 cm can also be planted in the ground, but they are not grown on a turnip, since such heads often give arrows. Therefore, it is better to plant large turnips to obtain greens or seeds - nigella. But green sprouts from large onions appear earlier than from the rest, so they can be planted in the ground first. In most of the country, this is done in early May.
The sorted bulbs are folded into separate boxes and proceed to the stage of processing the planting material.
How to process bulbs before planting in the ground
First of all, the gardener must decide for what purpose he grows onions: for greens, for a turnip harvest, or for the purpose of collecting onion seeds from arrows.
It is on the answer to this question that the method of processing planting material - small onions - depends.
For growing greenery
To get good green onions, as mentioned above, it is better to select the smallest bulbs with a diameter of up to 1 cm. Such bulbs must be protected, first of all, from onion flies and other pests that affect the green mass.
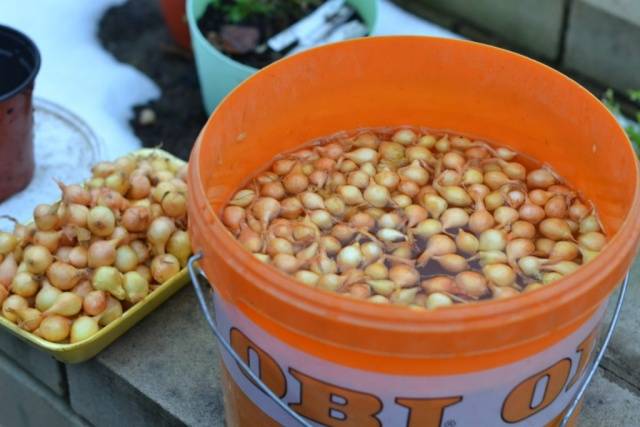
To do this, you can use the following tool: dissolve a tablespoon of table salt in a liter of water. Place the bulbs in this solution and leave for 10-12 hours. After processing, the onion must be weathered and dried a little.
The preparation of the onion for planting on a feather does not end there. You can stimulate the growth of green mass with a complex mineral fertilizer - any composition purchased in a store and intended for all vegetable crops will do.
A tablespoon of mineral fertilizers must be dissolved in a bucket of water and the bulbs must be soaked there for 10 hours. After this stage of processing, the bulbs are dried in a warm place.
Immediately before planting in the ground, onions must be disinfected in order to prevent fungal infections and other diseases characteristic of this culture. For these purposes, weak solutions (about 1%) of potassium permanganate or copper sulfate can be used. In the composition, the onion is soaked for about 15-20 minutes.

Preparation for planting is over, you can plant turnips in the beds.
For growing onion heads
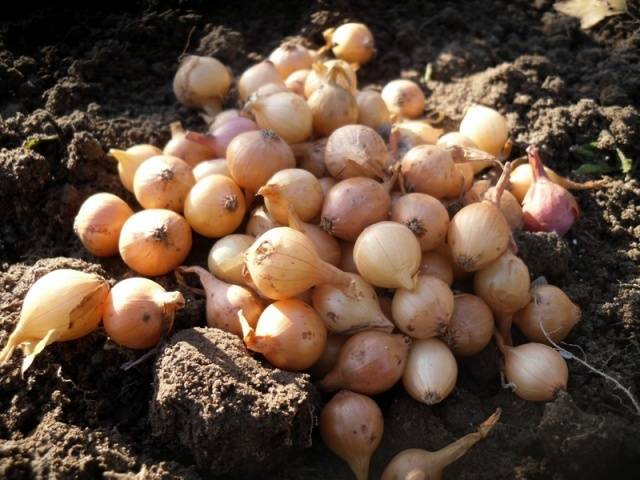
Not only greens of onions are of interest to gardeners, the lower part of the plant - the turnip - is no less important. To grow good bulbs, you need to select high-quality planting material, namely elastic, dense heads, the diameter of which is no more than 2 cm, but not less than 1 cm.
The main task of the gardener who wants to get a high yield of turnip is to prevent the formation of arrows. Onion seeds form in the arrows, but they greatly weaken the bulb itself, which becomes unsuitable for storage and consumption.
To reduce the formation of arrows, the planting material must be provided with good heating. This is the preparation of onions for planting on a turnip.
Onions are heated in spring in several stages:
- The sorted bulbs must be left at a temperature of 20 to 25 degrees for about 15-20 days. The room must be dry and well ventilated. Attics are great for this, but it may still be too cold. It is better to place the bulbs higher, for this they can be evenly distributed on shelves, on cabinets or on other furniture in the house.
- After the specified time has elapsed, the temperature must be increased sharply. For this, the onion is placed in an environment with a temperature of 35 to 40 degrees. These can be batteries, heaters, but it is very important to ensure that the heads do not overfill - the time and temperature must be strictly controlled. In such conditions, the heads must be kept for 12 hours.
- To stimulate the root system, it is necessary to use store-bought vegetable stimulants. Following the manufacturer's instructions, prepare a solution and soak the onions in it.
- Dry the heads and plant the prepared onions in the ground.
Tempering the bow before planting
On the network you can find many videos and photo instructions detailing how to grow onions for greens and for a head. Everyone chooses their own method of preparing seed, taking into account the climate in their region, common diseases among vegetables in a particular area and other factors.
The general procedure in the preparation of a bow is to harden the heads before planting. Pre-hardening of the planting material will provide an increase in the immunity of the culture, better acclimatization of the seed after planting in the ground, the onion will be prepared for a possible change in weather.
You need to harden the bow like this:
- first of all you need bulbs soak in water, the temperature of which is 50 degrees. Here, the onions are kept for 15 minutes, no more.
- After intensive heating, the onion is placed in cold water and kept there for the same amount of time - 15 minutes.
- Now the heads are soaked in a liquid solution of complex fertilizers for 12 hours.
- The procedure is completed by disinfecting the bulbs in a solution of manganese or copper sulfate.
Preparing the land for planting a bow
The soil for planting onions must be prepared in the fall. This is primarily due to the fact that it is impossible to apply fertilizers during planting of the heads - this will only increase the growth of green mass and the shooting of onions.
The culture loves loose and nutritious soil; onions need a sufficient amount of sunlight for normal development. Therefore, it is necessary to plant bulbs in a well-lit area with loamy or chernozem soils.
In the fall, the soil is dug up at the site. It is recommended to add 5-6 kg of humus for each square meter of land. Fresh cow dung must not be used, as it may contain fungal spores and seeds. weeds, which can greatly harm the bulbs.
Tomatoes, potatoes, zucchini, cucumbers or pumpkin are most suitable as precursors for onions. After such plants, exactly those trace elements that are needed onions remain in the ground.
And in the spring, after planting the heads, the beds are covered with a centimeter layer of humus. The whole complex of fertilizers ends here. You can slightly feed the planted onions with mineral components a few weeks after planting.
It must be remembered that the culture needs neutral soils, so a lime composition should be added to too acidic soil. Two weeks before planting the onions on the beds, the soil is abundantly watered with a solution of copper sulfate and covered with plastic wrap - this is necessary to disinfect the soil.
How to plant onions in spring
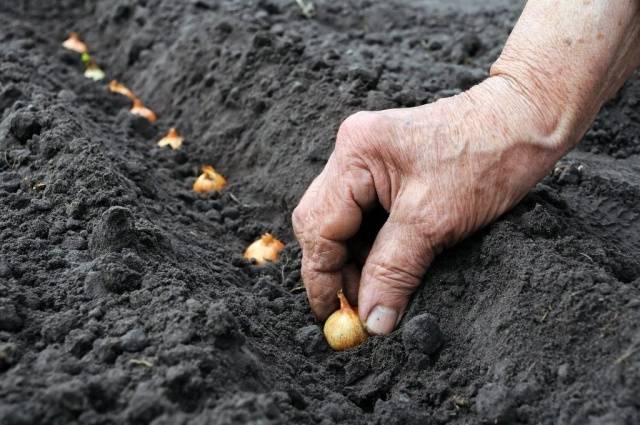
When both the bulbs and the soil are properly prepared, you can start planting the onions in the area. There are several rules to follow here:
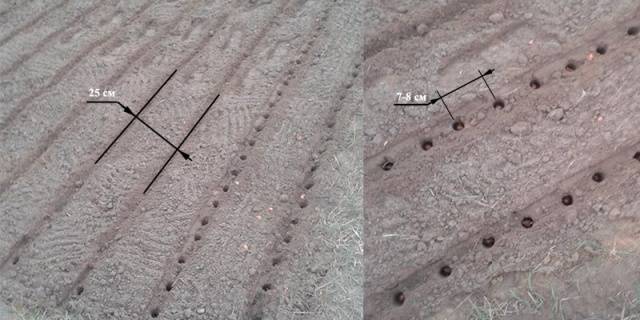
- You need to deepen the bulbs by their size.
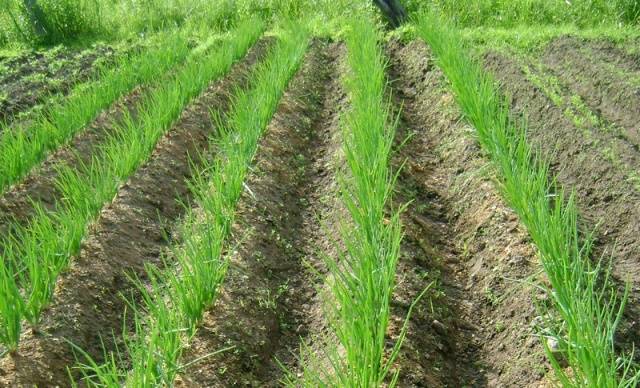
- The distance between the bulbs depends on their diameter. For medium-sized turnips, this is 7-10 cm.
- The gap between the beds should be about 25-30 cm.
- You need to water the culture regularly, every two weeks. Watering is suspended only during turnip growth and before harvesting.
- As a pest control measure, it is recommended to intersperse rows of onions with carrots, chamomile or calendula.
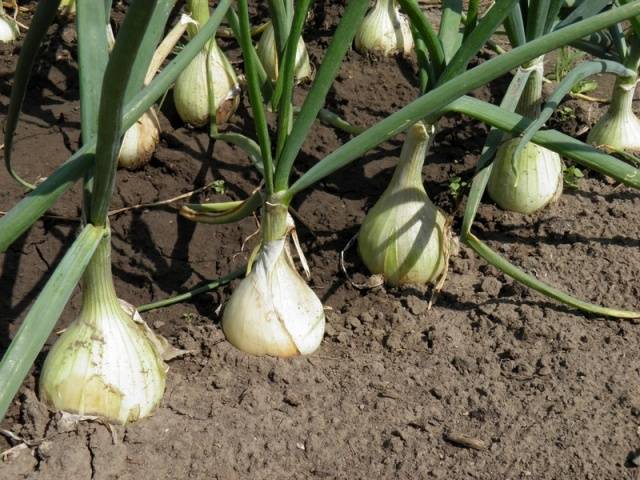
- As the turnips grow, it is necessary to ensure that they protrude above the ground.
In order to get a high yield of onions on a feather or on a head, you must, first of all, be able to properly prepare the planting material. The recommendations from this article, as well as this video instruction, will help to do this:


